Frequency separation
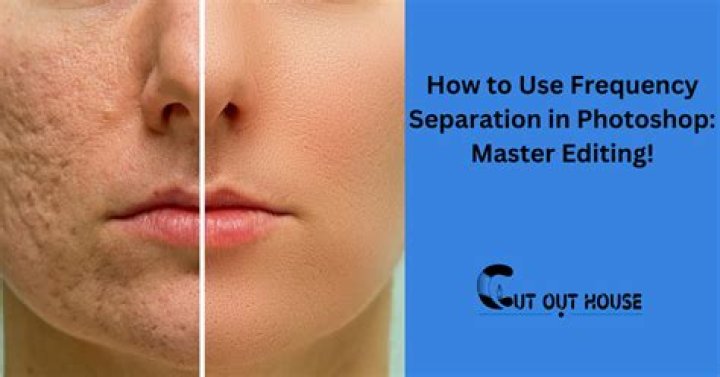
Frequency separation allows you to retouch texture and tone/color independently for powerful portrait retouching.
Frequency separation
Although the term frequency separation is initially intimidating, the concept is straightforward. By automatically separating your image color/tone and texture into separate low and high frequency layers, respectively, you'll be able to retouch color/tone and texture independently.
- Skin tone and color (shadows, blotches, etc.) are made smoother by blurring with the Dodge or Blur Brush Tool. The Healing Brush Tool also works well here.
- Unwanted textures (spots, stray hair, blemishes, dimples, and wrinkles) can be removed with the Clone Brush Tool or Blemish Removal Tool.
To apply frequency separation:
- From the Filters menu, select Frequency Separation.
- Drag on either high or low pass preview panes, to set the Radius (or use the slider in the dialog); this sets the balance between texture and tone. Set the value so the image's Low Frequency preview blends image color and tone but without losing major features within it.
- (Optional) From the dialog, check Feature Protection Tolerance and set a tolerance value on the slider. This preserves major facial features when applying subsequent brush strokes.
To retouch color or tone:
- From the Layers panel, select the Low Frequency layer.
- Apply retouch tools to the layer as appropriate.
To retouch textures:
- From the Layers panel, select the High Frequency layer.
- Apply retouch tools to the layer as appropriate.